
In the realm of classic Italian desserts, tiramisù holds a special place in many families’ culinary traditions. For one writer, their family’s recipe is a cherished heirloom, passed down through generations and imbued with the love and nostalgia of their lineage. This tiramisù, they’ll reveal, is a meticulously crafted treat, where each layer represents a bond shared among loved ones. The writer invites you to discover the story behind this beloved dessert, one that not only delights the palate but also preserves a cherished heritage.
Key Points
 1 / 8
1 / 8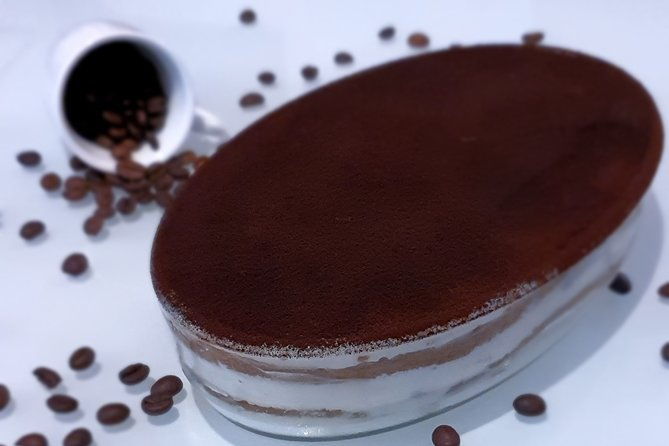 2 / 8
2 / 8 3 / 8
3 / 8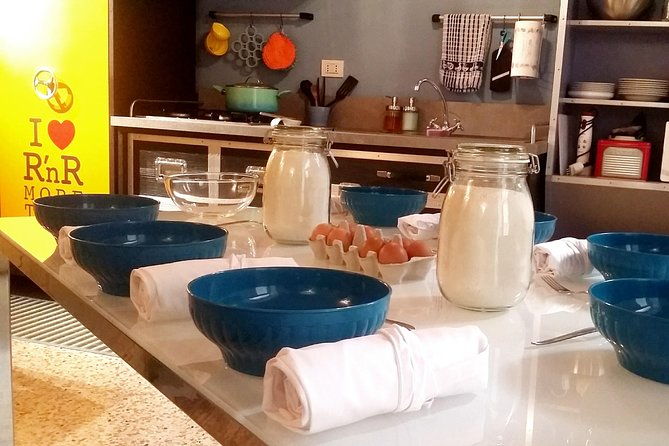 4 / 8
4 / 8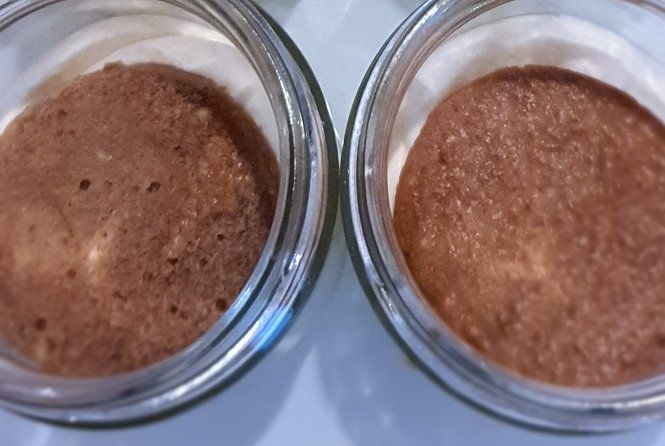 5 / 8
5 / 8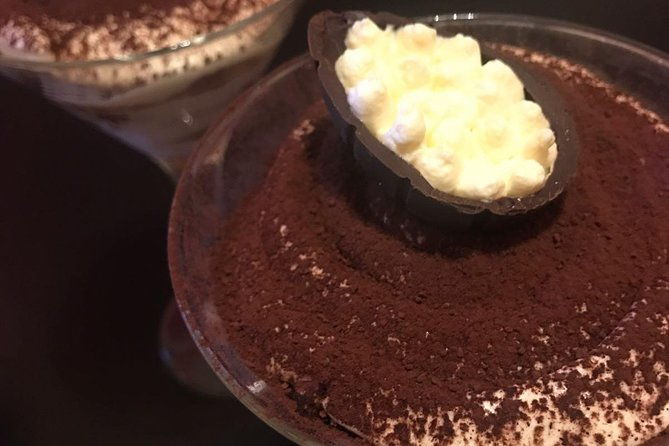 6 / 8
6 / 8 7 / 8
7 / 8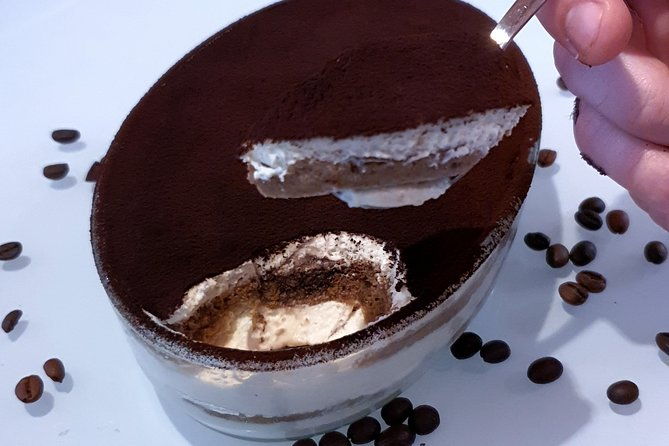 8 / 8
8 / 8- My family’s tiramisù recipe has been passed down through generations, with each nonna teaching the next the traditional preparation method.
- The essential ingredients in our tiramisù are mascarpone, eggs, sugar, espresso, and ladyfingers, creating a rich and authentic Italian dessert.
- We carefully separate the egg yolks and whites, whipping the whites to stiff peaks for a light and airy texture.
- Whipping the mascarpone until smooth and creamy is crucial to achieving the classic, pillowy consistency of our family’s tiramisù.
- The final assembly involves layering the dipped ladyfingers and mascarpone mixture, finishing with a generous dusting of cocoa powder before refrigeration.

👉 See our pick of the 14 Best Wine Tours In Verona (With Prices)
The Origins of Our Tiramisù Recipe
While the exact origins of tiramisù are debated, our recipe is based on a traditional method passed down through generations of Italian grandmothers.
The key ingredients – mascarpone, eggs, sugar, coffee, and ladyfingers – have remained unchanged for decades.
Our nonna, who taught us this recipe, learned it from her mother, who in turn learned it from her mother before her.
A time-honored culinary tradition passed down through generations of Italian grandmothers.
This time-honored approach ensures the authentic, rich flavor that has made tiramisù a beloved Italian dessert.
Our family is proud to share this cherished tradition with you.
You can also read our reviews of more tours and experiences in Verona.


Gathering the Ingredients
First, we’ll gather all the essential ingredients needed to create our authentic tiramisù.
You’ll need eggs, sugar, mascarpone cheese, ladyfingers, strong espresso coffee, and cocoa powder.
Crack the eggs, separating the yolks from the whites. Beat the yolks with the sugar until light and fluffy.
In a separate bowl, whip the mascarpone until smooth. Brew the espresso and let it cool slightly.
Dip the ladyfingers quickly into the coffee, not letting them soak through. Layer the coffee-soaked ladyfingers in a baking dish, then top with the mascarpone mixture.
Finish with a dusting of cocoa powder.
Separating the Eggs
Carefully crack the eggs, separating the yolks from the whites. You’ll need the egg whites for whipping into a meringue later.
Gently lift the yolks, letting the whites drip into a separate bowl. Be careful not to break the yolks – you want them intact. Once all the eggs are separated, cover the yolks and set them aside.
In the other bowl, whisk the egg whites until they form stiff peaks. This will take a few minutes of vigorous whisking. The egg whites need to be thoroughly whipped to achieve the proper texture for the tiramisù.
Whipping the Mascarpone
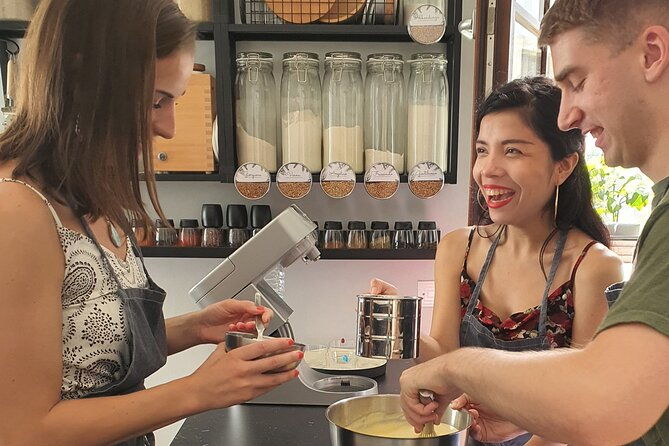
The next step is to whip the mascarpone cheese. Using a hand mixer, beat the mascarpone in a large bowl until it’s smooth and creamy.
Whip the mascarpone cheese until smooth and creamy using a hand mixer in a large bowl.
This helps incorporate air into the cheese, creating a light and fluffy texture. Be careful not to overmix, as that can cause the mascarpone to become grainy.
Once the mascarpone is properly whipped, set it aside. You’ll need this light and airy base for the next phase of assembling the tiramisù.
Proper whipping of the mascarpone is crucial to achieving the classic, pillowy texture of this beloved Italian dessert.
Dipping the Ladyfingers
After whipping the mascarpone to a light and airy texture, it’s time to dip the ladyfingers. This step is crucial, as the ladyfingers must absorb just the right amount of the coffee and liqueur mixture.
To do this:
-
Quickly dip each ladyfinger into the mixture, ensuring it’s coated but not soaked.
-
Arrange the dipped ladyfingers in a single layer in the baking dish.
-
Repeat this process until the entire bottom of the dish is covered.
With the ladyfingers in place, the tiramisù is ready for the next layer.


Assembling the Dessert
Once the ladyfingers are dipped and arranged, it’s time to start building the tiramisù.
Gently place a layer of dipped ladyfingers in the bottom of a serving dish. Evenly spread a layer of the mascarpone mixture over the ladyfingers.
Repeat this process, creating alternating layers of ladyfingers and mascarpone. Finish with a layer of mascarpone on top.
Dust the top generously with cocoa powder. Cover and refrigerate the assembled tiramisù for at least 6 hours, or up to 24 hours.
This allows the flavors to meld and the ladyfingers to soften. The tiramisù is now ready to serve.
Dusting With Cocoa Powder
One final step completes the tiramisù assembly – dusting the top generously with cocoa powder.
This not only adds a rich, chocolatey flavor, but also gives the dessert its signature look.
To dust with cocoa powder:
-
Use a fine-mesh sieve or strainer to evenly distribute the cocoa over the top of the assembled tiramisù.
-
Apply a thick, even layer, making sure to cover the entire surface.
-
Refrigerate the tiramisù for at least 6 hours, or overnight, to allow the flavors to meld before serving.
The Resting Period
With the tiramisù now dusted in a rich layer of cocoa powder, it’s time to let the flavors meld and integrate.
The dish should be refrigerated for at least 6 hours, or ideally overnight. This resting period allows the coffee-soaked ladyfingers to soften, the mascarpone to set, and the flavors to develop.
Don’t be tempted to dig in too soon – patience is key.
Once the tiramisù has had sufficient time to rest, it’s ready to be served. The combination of creamy mascarpone, sweet espresso, and bitter cocoa will be worth the wait.
Enjoy this classic Italian dessert at its best.